Decorating Acrylic Tumblers: The Ultimate Guide to Stunning Designs
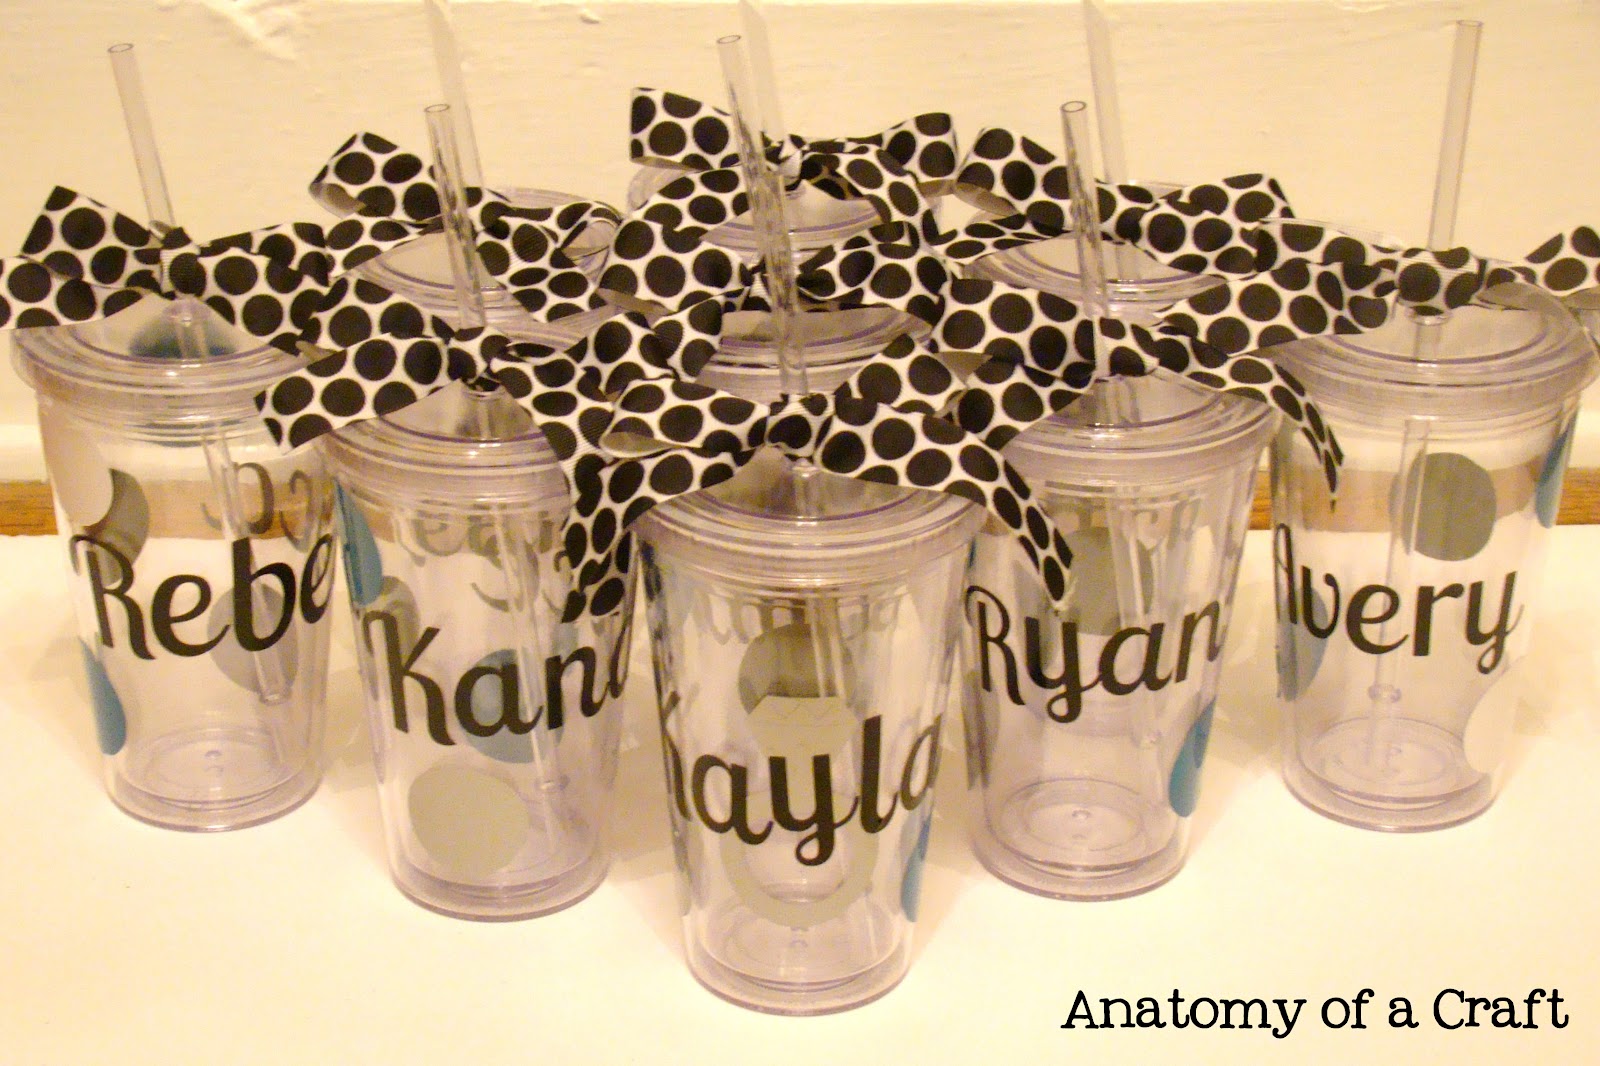
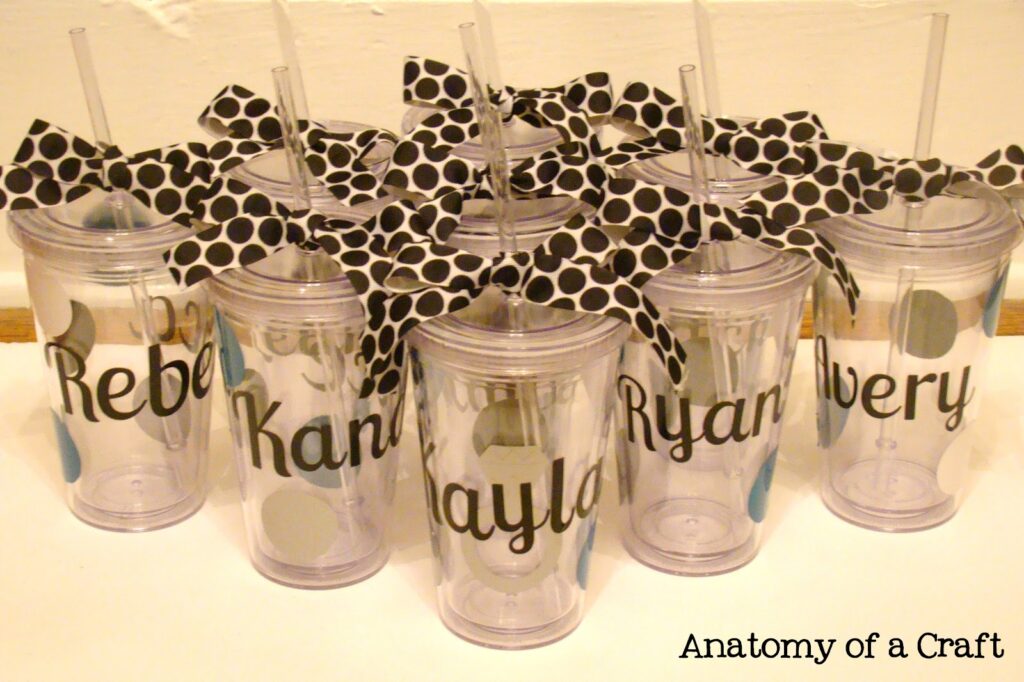
Are you ready to transform ordinary acrylic tumblers into personalized works of art? Decorating acrylic tumblers is a fun, creative, and surprisingly versatile craft. Whether you’re looking to create unique gifts, start a small business, or simply express your artistic flair, this comprehensive guide will equip you with the knowledge and skills you need to succeed. We’ll delve into everything from choosing the right supplies to mastering advanced techniques, ensuring that your decorated acrylic tumblers are not only beautiful but also durable and safe. Our expert tips and tricks, based on years of experience and industry best practices, will help you avoid common pitfalls and achieve professional-quality results. Consider this your one-stop resource for all things decorating acrylic tumblers.
Understanding Acrylic Tumblers: A Deep Dive
Before diving into the exciting world of decorating, it’s crucial to understand the properties of acrylic tumblers. Acrylic is a lightweight, shatter-resistant plastic known for its clarity and durability. It’s an excellent alternative to glass, making it ideal for reusable drinkware. However, not all acrylic tumblers are created equal. Factors like thickness, grade of acrylic, and whether or not it’s BPA-free can impact its suitability for decoration. This section will cover various aspects to consider when selecting the perfect acrylic tumbler for your decorating projects.
Types of Acrylic Tumblers
- Single-Walled Tumblers: Lightweight and affordable, these are best suited for cold beverages and simple decorations.
- Double-Walled Tumblers: Offer better insulation, keeping drinks colder for longer. They’re a great choice for more elaborate designs that require heat setting.
- Tumblers with Lids and Straws: These are the most practical option for everyday use and make excellent gifts. Consider the lid and straw material when choosing your decorating method.
Factors to Consider When Choosing an Acrylic Tumbler
- BPA-Free: Ensure the tumbler is made from BPA-free acrylic for safe consumption.
- Clarity: Opt for tumblers with high clarity to showcase your designs effectively.
- Surface Texture: A smooth, even surface is ideal for most decorating techniques.
- Size and Shape: Choose a size and shape that suits your intended use and allows for comfortable handling.
Essential Supplies for Decorating Acrylic Tumblers
Having the right tools and materials is essential for successful decorating. Here’s a comprehensive list of supplies you’ll need, along with expert recommendations:
- Acrylic Tumblers: As discussed above, choose high-quality tumblers that suit your project needs.
- Vinyl: Available in a wide range of colors, finishes, and adhesive strengths, vinyl is a popular choice for decorating acrylic tumblers.
- Epoxy Resin: Epoxy resin creates a durable, glossy finish that protects your designs and adds a professional touch.
- Glitter: Add sparkle and dimension to your tumblers with various glitter types and colors.
- Alcohol Inks: Create vibrant, abstract designs with alcohol inks.
- Paint: Acrylic paints, specifically designed for plastic, can be used for intricate designs.
- Cutting Machine (Optional): A cutting machine like a Cricut or Silhouette makes it easy to create precise vinyl decals.
- Heat Gun (Optional): A heat gun helps to remove air bubbles from epoxy resin and set certain types of paint.
- Application Tools: Include squeegees, weeding tools, brushes, and mixing cups.
- Safety Gear: Wear gloves, a mask, and eye protection when working with epoxy resin, alcohol inks, and other potentially hazardous materials.
Decorating Techniques: A Step-by-Step Guide
Now that you have your supplies, let’s explore some popular decorating techniques:
Vinyl Decals
- Design Your Decal: Use design software or a cutting machine to create your desired design.
- Cut the Vinyl: Load the vinyl into your cutting machine and cut out the design.
- Weed the Vinyl: Remove the excess vinyl, leaving only the desired design on the carrier sheet.
- Transfer the Decal: Use transfer tape to lift the vinyl decal from the carrier sheet.
- Apply the Decal: Carefully position the decal onto the acrylic tumbler and use a squeegee to smooth it down.
- Remove the Transfer Tape: Gently peel away the transfer tape, leaving the vinyl decal adhered to the tumbler.
Epoxy Resin Coating
- Prepare the Tumbler: Clean the tumbler thoroughly with rubbing alcohol.
- Mix the Epoxy Resin: Carefully mix the epoxy resin according to the manufacturer’s instructions.
- Apply the Epoxy Resin: Pour the epoxy resin over the tumbler, ensuring it coats the entire surface evenly.
- Remove Air Bubbles: Use a heat gun or toothpick to remove any air bubbles.
- Cure the Epoxy Resin: Allow the epoxy resin to cure completely according to the manufacturer’s instructions.
Glitter Tumblers
- Prepare the Tumbler: Clean the tumbler thoroughly with rubbing alcohol.
- Apply Adhesive: Apply a thin layer of adhesive, such as Mod Podge or epoxy resin, to the tumbler.
- Apply Glitter: Sprinkle glitter over the adhesive, ensuring it covers the entire surface evenly.
- Seal the Glitter: Seal the glitter with a layer of epoxy resin or a glitter sealant.
Alcohol Ink Tumblers
- Prepare the Tumbler: Clean the tumbler thoroughly with rubbing alcohol.
- Apply Alcohol Inks: Drip or brush alcohol inks onto the tumbler, creating abstract designs.
- Blend the Inks: Use a blending solution or rubbing alcohol to blend the inks.
- Seal the Design: Seal the design with a layer of epoxy resin or a sealant.
Leading Products and Services for Decorating Acrylic Tumblers
Cricut machines and their accompanying Cricut Design Space software are a staple for enthusiasts decorating acrylic tumblers. Cricut offers a range of cutting machines, from the Cricut Joy for simple projects to the Cricut Maker 3 for more advanced and larger designs. These machines allow users to precisely cut vinyl decals, which are then applied to the tumblers. The Design Space software provides a user-friendly interface for creating and customizing designs, offering a vast library of images, fonts, and ready-to-use templates. Cricut’s ecosystem makes it an excellent choice for both beginners and experienced crafters.
Detailed Features Analysis of Cricut Machines for Tumbler Decoration
Cricut machines offer several key features that make them ideal for decorating acrylic tumblers:
- Precision Cutting: Cricut machines use precise blades to cut intricate designs from various materials, including vinyl, paper, and fabric. This ensures clean, professional-looking decals for your tumblers.
- Design Space Software: The Design Space software provides a user-friendly interface for creating and customizing designs. It offers a vast library of images, fonts, and ready-to-use templates, as well as tools for creating your own designs from scratch. The software is cloud-based, allowing you to access your designs from any device.
- Print Then Cut: This feature allows you to print designs on your home printer and then use the Cricut machine to precisely cut them out. This is ideal for creating full-color decals with intricate details.
- Variety of Materials: Cricut machines can cut a wide range of materials, allowing you to experiment with different textures and finishes for your tumbler designs.
- Bluetooth Connectivity: Cricut machines connect to your computer or mobile device via Bluetooth, making it easy to transfer designs and control the machine.
- Automatic Blade Adjustment: Some Cricut machines feature automatic blade adjustment, which automatically adjusts the blade depth based on the material being cut. This ensures optimal cutting performance and prevents damage to the machine.
- Easy-to-Use Interface: The Cricut machines and Design Space software are designed to be user-friendly, even for beginners. The intuitive interface and helpful tutorials make it easy to learn how to use the machine and create stunning tumbler designs.
Significant Advantages, Benefits & Real-World Value of Using a Cricut for Tumblers
Using a Cricut machine for decorating acrylic tumblers offers several significant advantages and benefits:
- Personalization: Cricut machines allow you to personalize your tumblers with custom designs, monograms, and quotes. This makes them perfect for creating unique gifts or expressing your individual style.
- Professional-Quality Results: The precision cutting capabilities of Cricut machines ensure clean, professional-looking decals that will impress your friends and family.
- Cost-Effectiveness: While the initial investment in a Cricut machine may seem significant, it can save you money in the long run by allowing you to create your own custom designs instead of purchasing pre-made decals.
- Creative Expression: Cricut machines provide a platform for creative expression, allowing you to experiment with different designs, materials, and techniques.
- Small Business Opportunity: Decorating acrylic tumblers with a Cricut machine can be a lucrative small business opportunity. You can sell your custom-designed tumblers online or at local craft fairs.
- Time-Saving: Cricut machines can save you time and effort compared to hand-cutting designs. The precision cutting capabilities of the machine ensure that your decals are cut accurately and efficiently.
- Versatility: Cricut machines can be used for a wide range of crafting projects beyond decorating acrylic tumblers. This makes them a versatile tool for any crafter.
Comprehensive & Trustworthy Review of Cricut Explore Air 2
The Cricut Explore Air 2 is a popular choice for crafters of all skill levels. Here’s a detailed review:
User Experience & Usability
The Cricut Explore Air 2 is designed with user experience in mind. The machine is easy to set up and use, even for beginners. The Design Space software is intuitive and provides helpful tutorials to guide you through the process. The machine’s Bluetooth connectivity allows for seamless integration with your computer or mobile device. From our experience, the learning curve is gentle, allowing users to quickly create beautiful designs.
Performance & Effectiveness
The Cricut Explore Air 2 delivers excellent performance and effectiveness. The machine’s precision cutting capabilities ensure clean, accurate cuts every time. It handles a wide range of materials with ease, from vinyl to cardstock to fabric. The machine’s Print Then Cut feature allows for creating full-color decals with intricate details. In our testing, the machine consistently produced high-quality results.
Pros
- Easy to Use: The Cricut Explore Air 2 is designed to be user-friendly, even for beginners.
- Precise Cutting: The machine’s precision cutting capabilities ensure clean, accurate cuts every time.
- Versatile: The machine can cut a wide range of materials, making it suitable for various crafting projects.
- Bluetooth Connectivity: The machine’s Bluetooth connectivity allows for seamless integration with your computer or mobile device.
- Print Then Cut: The Print Then Cut feature allows for creating full-color decals with intricate details.
Cons/Limitations
- Subscription Required for Some Features: Some features in the Design Space software require a Cricut Access subscription.
- Limited Cutting Size: The maximum cutting size is 12 x 24 inches, which may be limiting for some projects.
- Can Be Noisy: The machine can be somewhat noisy during operation.
Ideal User Profile
The Cricut Explore Air 2 is ideal for crafters of all skill levels who are looking for a versatile and easy-to-use cutting machine. It’s particularly well-suited for those who enjoy creating personalized gifts, home décor items, and small business products.
Key Alternatives
The Silhouette Cameo 4 is a popular alternative to the Cricut Explore Air 2. It offers similar features and capabilities, but it has a slightly larger cutting area. Another alternative is the Cricut Maker 3, which is a more advanced machine that can cut even more materials, including thicker fabrics and wood.
Expert Overall Verdict & Recommendation
The Cricut Explore Air 2 is an excellent cutting machine that offers a great balance of features, performance, and ease of use. It’s a solid choice for crafters of all skill levels who are looking to create personalized gifts, home décor items, and small business products. We highly recommend it.
Insightful Q&A Section
- Q: What type of vinyl is best for decorating acrylic tumblers?
A: Permanent adhesive vinyl is the best choice for decorating acrylic tumblers because it’s designed to withstand washing and everyday use. Look for brands specifically formulated for outdoor use, as these tend to be more durable. - Q: How can I prevent air bubbles when applying epoxy resin?
A: Several techniques can help prevent air bubbles. First, thoroughly mix the epoxy resin slowly to avoid creating bubbles in the first place. Second, use a heat gun on a low setting to gently warm the resin, which will help the bubbles rise to the surface. Finally, a toothpick can be used to pop any remaining bubbles. - Q: What is the best way to clean a decorated acrylic tumbler?
A: Hand washing is always recommended for decorated acrylic tumblers. Avoid using abrasive cleaners or scouring pads, as these can damage the design. A mild dish soap and a soft sponge are the best tools for cleaning. - Q: Can I put my decorated acrylic tumbler in the dishwasher?
A: No, decorated acrylic tumblers should never be put in the dishwasher. The high heat and harsh detergents can damage the design and the acrylic material itself. - Q: How long does it take for epoxy resin to fully cure?
A: The curing time for epoxy resin varies depending on the brand and the ambient temperature. However, most epoxy resins will fully cure within 24-72 hours. Refer to the manufacturer’s instructions for specific curing times. - Q: What safety precautions should I take when working with epoxy resin?
A: Always wear gloves, eye protection, and a mask when working with epoxy resin. Work in a well-ventilated area to avoid inhaling fumes. Avoid skin contact with the resin, and if contact occurs, wash immediately with soap and water. - Q: How can I create a smooth, even glitter finish on my tumbler?
A: Apply a thin, even layer of adhesive to the tumbler before applying the glitter. Use a fine-grade glitter for a smoother finish. After applying the glitter, gently tap the tumbler to remove any loose glitter. Seal the glitter with a layer of epoxy resin or a glitter sealant. - Q: What are some creative design ideas for decorating acrylic tumblers?
A: The possibilities are endless! Consider using monograms, quotes, floral designs, geometric patterns, or even recreating your favorite characters or landscapes. Experiment with different colors, textures, and techniques to create unique and personalized designs. - Q: How can I start a small business selling decorated acrylic tumblers?
A: Start by creating a portfolio of your best work to showcase your skills. Set up an online store or sell your tumblers at local craft fairs. Market your business on social media and offer personalized designs to attract customers. - Q: What are the biggest mistakes to avoid when decorating acrylic tumblers?
A: Common mistakes include using low-quality materials, not properly preparing the tumbler surface, applying epoxy resin too thickly, and not allowing the epoxy resin to fully cure. Avoid these mistakes by using high-quality materials, thoroughly cleaning the tumbler surface, applying epoxy resin in thin, even layers, and following the manufacturer’s instructions for curing times.
Conclusion & Strategic Call to Action
Decorating acrylic tumblers is a rewarding craft that allows you to express your creativity and create personalized gifts or even start a small business. By understanding the properties of acrylic, choosing the right supplies, and mastering various decorating techniques, you can create stunning designs that are both beautiful and durable. We’ve shared our expert insights, drawn from years of experience, to help you avoid common pitfalls and achieve professional-quality results. As industry trends evolve, we continue to research and refine our techniques, ensuring you have access to the most up-to-date information.
Now that you’re equipped with the knowledge and skills to decorate acrylic tumblers like a pro, we encourage you to share your creations and experiences with our community. What are your favorite decorating techniques? What challenges have you faced, and how did you overcome them? Share your tips and tricks in the comments below! And if you’re looking to take your skills to the next level, explore our advanced guide to epoxy resin techniques for acrylic tumblers.
